The PIXIE Ambience Touch Panel is an optional device for homes using the PIXIE PLUS app and PIXIE gateway which provides an elevated smart home experience.
The PIXIE Touch Panel provides a central location where home owners control all of their PIXIE devices, groups and scenes from an always-on central location.
Its possible to have multiple PIXIE Ambience Touch Panels mounted in a single home, and each location can be customised and fine tuned for rapid control needed for its mounting location.
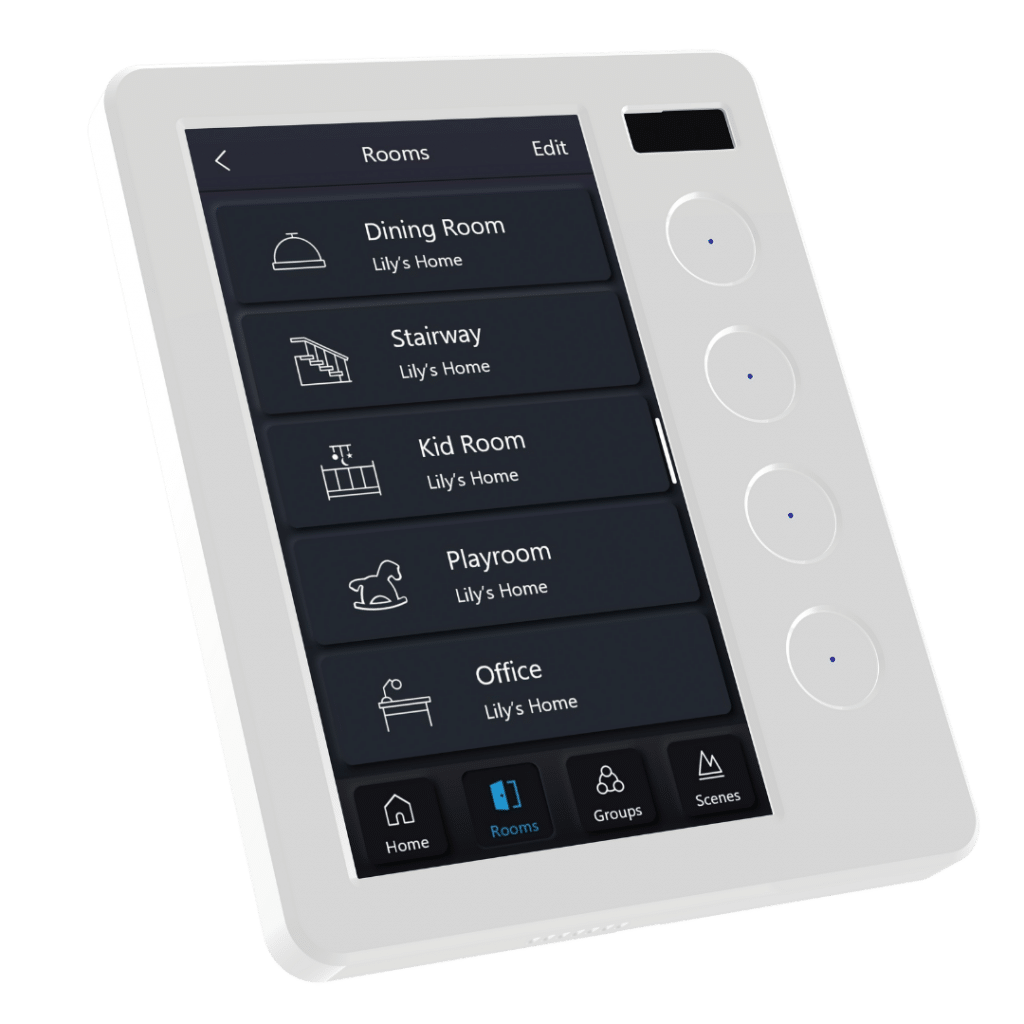
PIXIE Ambience Touch Panel – Showing Rooms List
Download the installation manual here
Automatic Updates & Simple Modification #
Whenever a home owner modifies or adds any devices, groups, scenes or names on the PIXIE PLUS app these changes will be automatically and immediately updated on all installed PIXIE Touch Panels installed in the home.
The PIXIE Touch Panel can also be modified to suit quickly and easily by the home owner in a number of ways:
PIXIE Touch Panel Home Page Widgets #
The home page has the ability to have up to 6 widgets shown – where each widget can control:
- – A Room
- – A Group
- – A Scene
These home page widgets can be setup differently for each PIXIE Touch Panel depending on where the device is mounted, ensuring the control that is needed for a specific environment is quickly accessed.
A Room widget as seen below, consumes 2 “widget Spaces’ where a Scene and Group Widget consume just a single widget location.
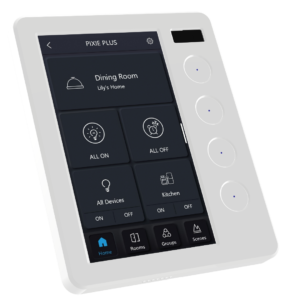
PIXIE Touch Panel – Showing Home page widgets
PIXIE Touch Panel Multifunction Button Setup #
In addition to the 6 Widgets on the Home Page, the 4 x Multifunction buttons are easy to setup for rapid control of:
- – Devices – When paired with a dimmer – full dimming control and functionality provided
- – Groups -When paired with a dimmable group – full dimming control and functionality provided
- – Scenes – Single Tap and Double Tap functionality
These can be edited and changed as often as the home owner likes directly from the Touch panel without touching the PIXIE Plus app.
Simply swipe left from the centre right of the screen to reveal the setup and reminder panel for each Multifunction Button.
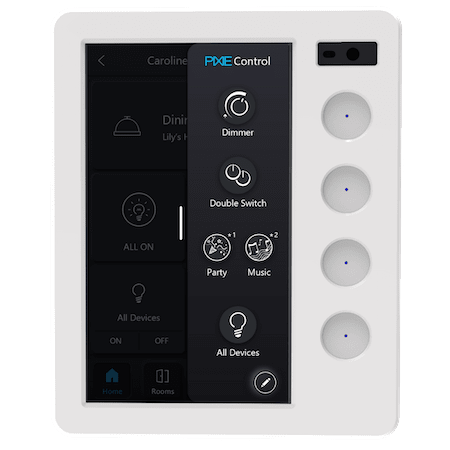
PIXIE Touch Panel – Showing Multifunction Button Setup
Hide or Show Devices, Groups and Scenes #
On the Groups Tab and Scene Tab, its possible to HIDE or SHOW specific groups and devices.
This is useful depending on where the PIXIE Touch Panel is mounted.
⇒ Maybe you do want to be able to control the Party scene from your Kitchen
⇒ Maybe you don’t want to be able to control the Garage Door from the master bedroom.
Home owners choose what is shown and what is hidden.
How is the PIXIE Touch Panel Powered? #
The PIXIE Touch Panel is powered and connected to your home network in 3 ways:
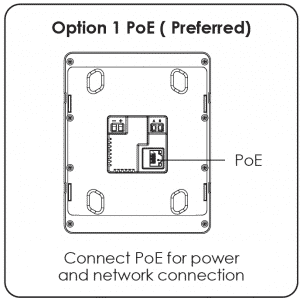
POE Connection – Preferred Installation method
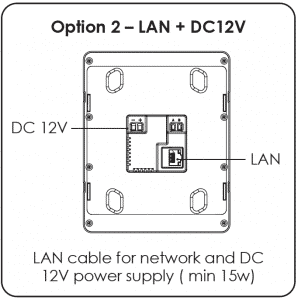
LAN cable for Home Network Connection and DC power supply for powering Touch Panel
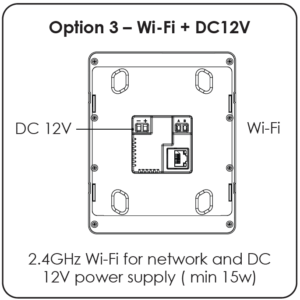
Wi-Fi (2.4GHz) for Home Network Connection and DC power supply for powering Touch Panel
How does it connect to the PIXIE mesh? #
The PIXIE Touch Panel works with PIXIE PLUS and a PIXIE Gateway – either the SGW3/BTAM ( Gen1 gateway) or the preferred SGW3/BTAM (Gen 3 gateway )
The Gateway connects to your home network either via Wi-Fi or Ethernet (preferred).
Likewise your PIXIE Touch Panel connects to your home network either via Wi-Fi or Ethernet / POE (preferred)
When you press any button on the PIXIE Touch Panel, whether on the touch screen OR the Multifunction Buttons, these message are sent to the Gateway which in turn transmits the message to the PIXIE Mesh
How to set up the PIXIE Touch Panel? #
When the PIXIE Touch Panel is first powered up a QR code appears on screen.
First go ahead and setup the PIXIE PLUS home using the PIXIE PLUS App – add all your devices, groups and scenes – make sure you name everything – and even create some schedules.
⇒ Head to the little COG in the top right hand corner and select “Configuration” from the menu
⇒ Select Touch Panel
⇒ Select the SCAN button and scan the QR code on the PIXIE Touch Panel with your mobile device
The PIXIE Touch Panel then provides a step by step, test and setup process – if the network is setup correctly in the home this process takes about 30 seconds.
All the data from the PIXIE App will be transferred to the Touch Panel.
Now you can go ahead and configure any Home Page Widgets, Multifunction Button operation etc. directly on the PIXIE Touch Panel.
Screen Saver Setup #
The PIXIE Touch Panel has a number of different settings to suit the home owners preference.
Screen Saver
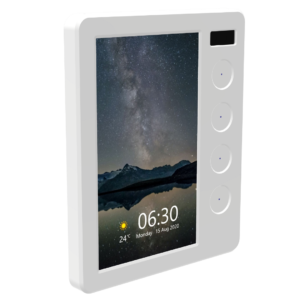
The home owner can choose to use a screen saver or not (revert to black screen after time-out), how the brightness of the screen is set – either form ambient light or at a preset level.
Wallpaper
The PIXIE Touch panel is delivered with 10 pre-set wall papers for use when users choose to leave the screen on.
Users can choose which of these they would like to have shown, and the Touch Panel will cycle through these different versions selected.
It is also possible to upload your on photos to be used as the Screensaver images.
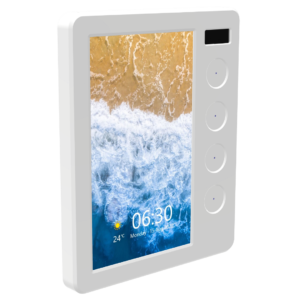
Date, Time, Weather
Its also possible to choose whether or not the Time, Date and Weather is displayed on the PIXIE Touch Panel
How is the PIXIE Touch Panel installed? #
View this post on Instagram
Download the installation manual here


What POE standards do you support?
It’s IEEE802.3af
The PIXIE Touch Panel is a PD (Power device), not a PoE switch (Power Sourcing Equipment)